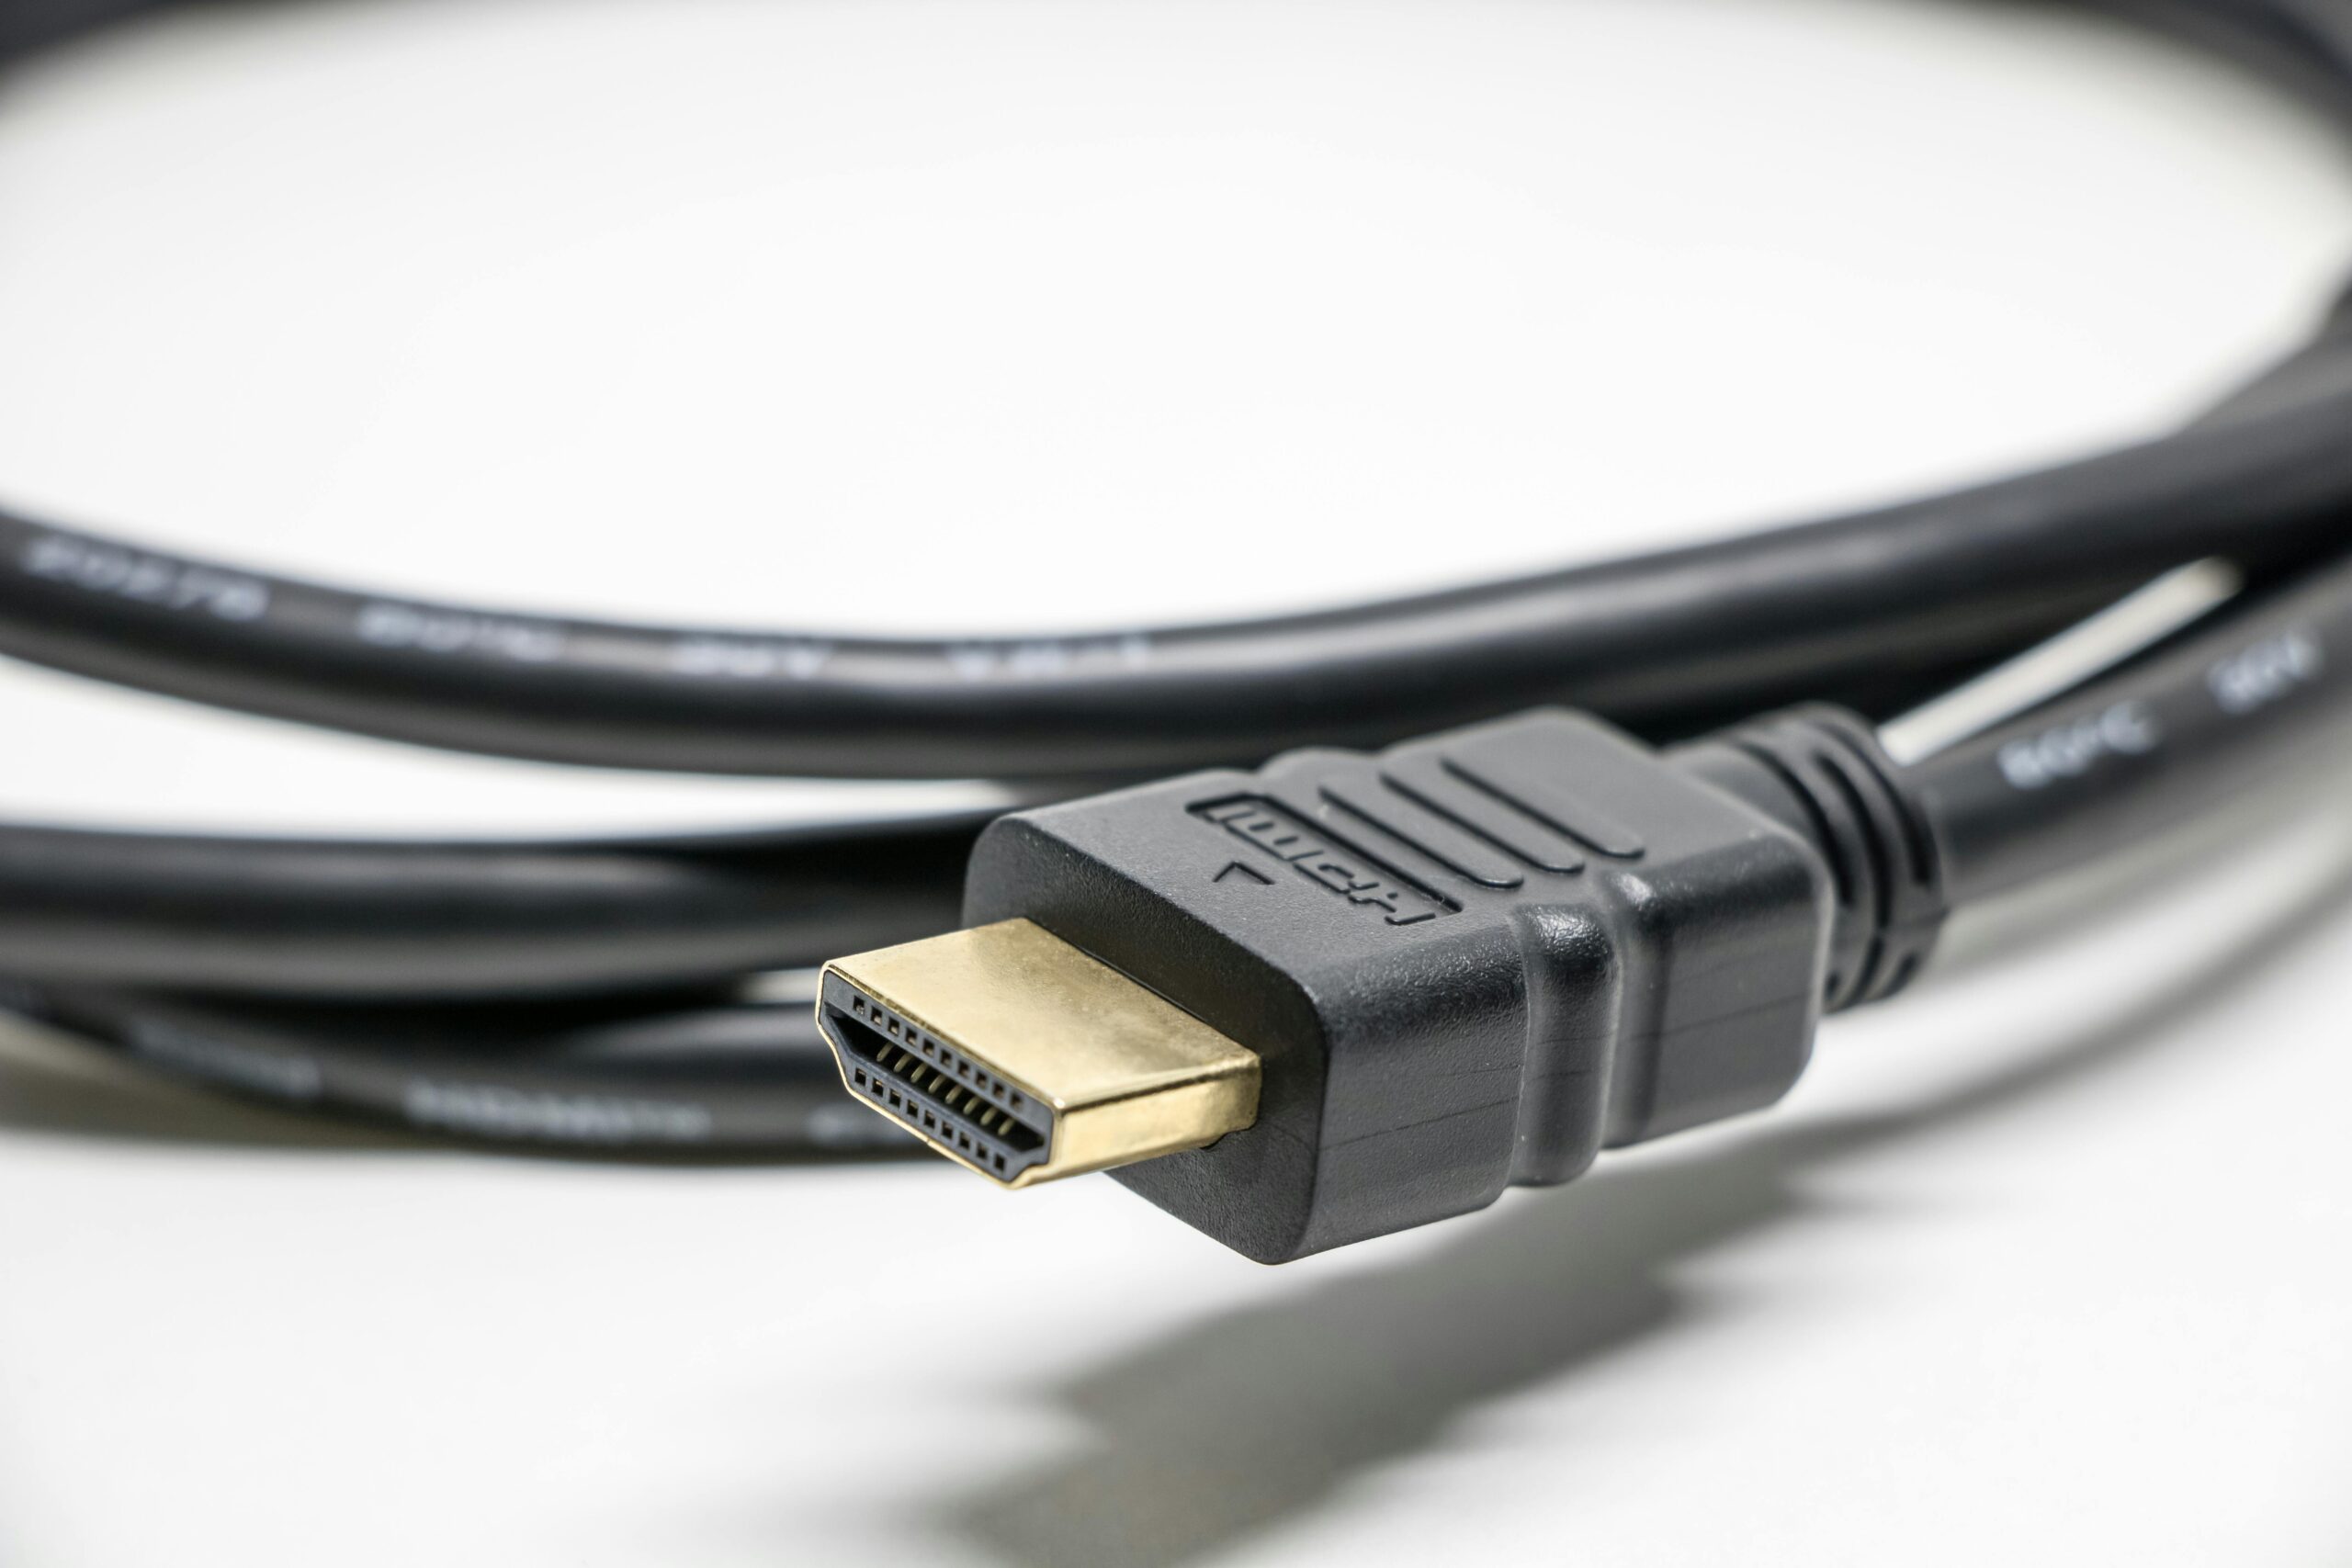
Modern TVs weren’t built for analog consoles. Here’s how to get a clean, low-lag HDMI picture from NES, SNES, N64, GameCube, Wii, Genesis, PS1, and more — explained in plain English for beginners.
Quick Picks (TL;DR)
- Fastest beginner route: Console-specific HDMI adapters/cables (cheap, plug-and-play; quality varies by console).
- Best overall image quality: RetroTINK or OSSC upscalers (handle many consoles, proper scaling).
- For GameCube purists: Digital output + adapter/cable for DOL-001 models.
How HDMI for Retro Actually Works (fast)
Old consoles output analog video (RF, composite, S-Video, component, RGB). Modern flat panels expect digital HDMI. You can either:
- Use a simple console-specific HDMI adapter/cable — cheapest and easiest; results vary by console and by brand.
- Use a quality upscaler (e.g., RetroTINK/OSSC) — costs more, but cleaner scaling, less smearing, fewer artifacts, and better deinterlacing.
- Mod the console (internal HDMI boards) — most expensive and technical, but can look incredible on certain systems.
Pair this guide with our Lag-Free HDTV Setup and Safe PSU Guide to minimize lag and noise.
Top HDMI Options — Comparison Table
| Option | Best For | Difficulty | Pros | Cons | Buy |
|---|---|---|---|---|---|
| Console-Specific HDMI Adapter | Beginners; single console | Plug-and-play | Cheap, simple, quick win | Quality varies; limited scaling control | Browse Adapters → |
| RetroTINK Upscalers | Multiple consoles; best plug-in quality | Easy | Excellent scaling, low lag, flexible inputs | More expensive than basic adapters | Shop RetroTINK → |
| OSSC (Open Source Scan Converter) | Tinkerers; 240p/480p purists | Moderate setup | Low lag; sharp line-multiplication | Settings heavy; TV compatibility varies | Find OSSC → |
| Internal HDMI Mods | Advanced users; premium results | High (install) | Best signal path; crisp image | Costly; soldering/install required | See Kits → |
Best Picks by Console (Beginner First)
Staying in Nintendo territory first (your most profitable niche). We include links to your controller guides for synergy.
NES
- Cheapest: Simple NES→HDMI adapter.
- Better picture, more $$: Upscaler route (RetroTINK/OSSC) from composite/S-Video/RGB as available.
- Controllers: See Best NES Controllers.
SNES
- Beginner: SNES→HDMI cable/adapter (fastest path).
- Quality jump: SNES RGB or component out into RetroTINK / OSSC.
- Controllers: Best SNES Controllers.
N64
- Beginner: N64→HDMI adapters (quality varies; try different brands if one looks soft).
- Better: S-Video/component (where available) into RetroTINK for cleaner scaling.
- Premium: Internal HDMI mods exist for N64 (advanced).
- Controllers: Best N64 Controllers.
GameCube
- Best case (DOL-001): Use the digital out port with a GC→HDMI adapter/cable: search options.
- Other models / composite only: Consider RetroTINK for better scaling from analog.
- Controllers: Best GameCube Controllers.
Wii
- Simple & cheap: Wii→HDMI adapters work well for most TVs.
- Sharper: Component cables into an upscaler can look cleaner than low-end HDMI dongles.
- Controllers: Best Wii Controllers.
Sega Genesis / Mega Drive
- Beginner: Genesis→HDMI adapters.
- Better: RGB SCART/component into RetroTINK / OSSC.
PlayStation 1 (PS1)
- Beginner: PS1→HDMI adapters.
- Sharper: RGB into RetroTINK for better scaling/processing.
Beginner Setup in 3 Steps
- Pick your path: Start with a console-specific HDMI adapter for a quick win. If you own multiple systems, consider a RetroTINK.
- Enable TV Game Mode: Cuts processing lag dramatically. See our Lag-Free HDTV Guide.
- Cable sanity: Use short, certified HDMI cables and avoid daisy-chaining adapters where possible.
Troubleshooting & Tips
- Picture looks soft or smeared: Try a different brand of adapter, or step up to a RetroTINK.
- Black bars / weird aspect ratio: Use your TV’s “Just Scan/1:1” or the upscaler’s aspect controls.
- Audio hum / noise: Check your power supply and avoid cheap, unregulated PSUs.
- Lag feels bad: Turn on Game Mode, keep HDMI short, and prefer upscalers over ultra-cheap dongles.
Where to Buy (Amazon Searches)
- RetroTINK upscalers
- OSSC upscaler
- General retro HDMI adapters
- SNES→HDMI • N64→HDMI • GameCube→HDMI • Wii→HDMI
Disclosure: As an Amazon Associate, we earn from qualifying purchases—at no extra cost to you.
Next Steps
Dial in input feel with our Lag-Free HDTV Guide, make sure your bricks are safe with Power Solutions, and if you’re building a full setup, start here: Retro Gaming Starter Kit (2025). Pair the video upgrade with better pads from our controller guides: SNES • N64 • GameCube • Wii.


It’s a pity you don’t have a donate button! I’d certainly donate to this fantastic blog! I suppose for now i’ll settle for book-marking and adding your RSS feed to my Google account. I look forward to fresh updates and will talk about this website with my Facebook group. Talk soon!